How To Treat Damp Walls In Your Home
Dealing With The Damp
Living in a wet and rainy country like Ireland shouldn’t have an impact on your home. Regardless of how much it rains, your home should stay warm and dry throughout the year. But sometimes, issues with our homes such as leaking roofs, broken gutters, poor ventilation and even lack of insulation can allow the damp to seep in, potentially leading to mildew and mould growing in places we don’t want it. Luckily, when damp is caused by these things, it can generally be fixed.
How to cure damp inside walls
Before you can begin to cure the damp walls in your home, it’s important to find out what’s causing the damp.
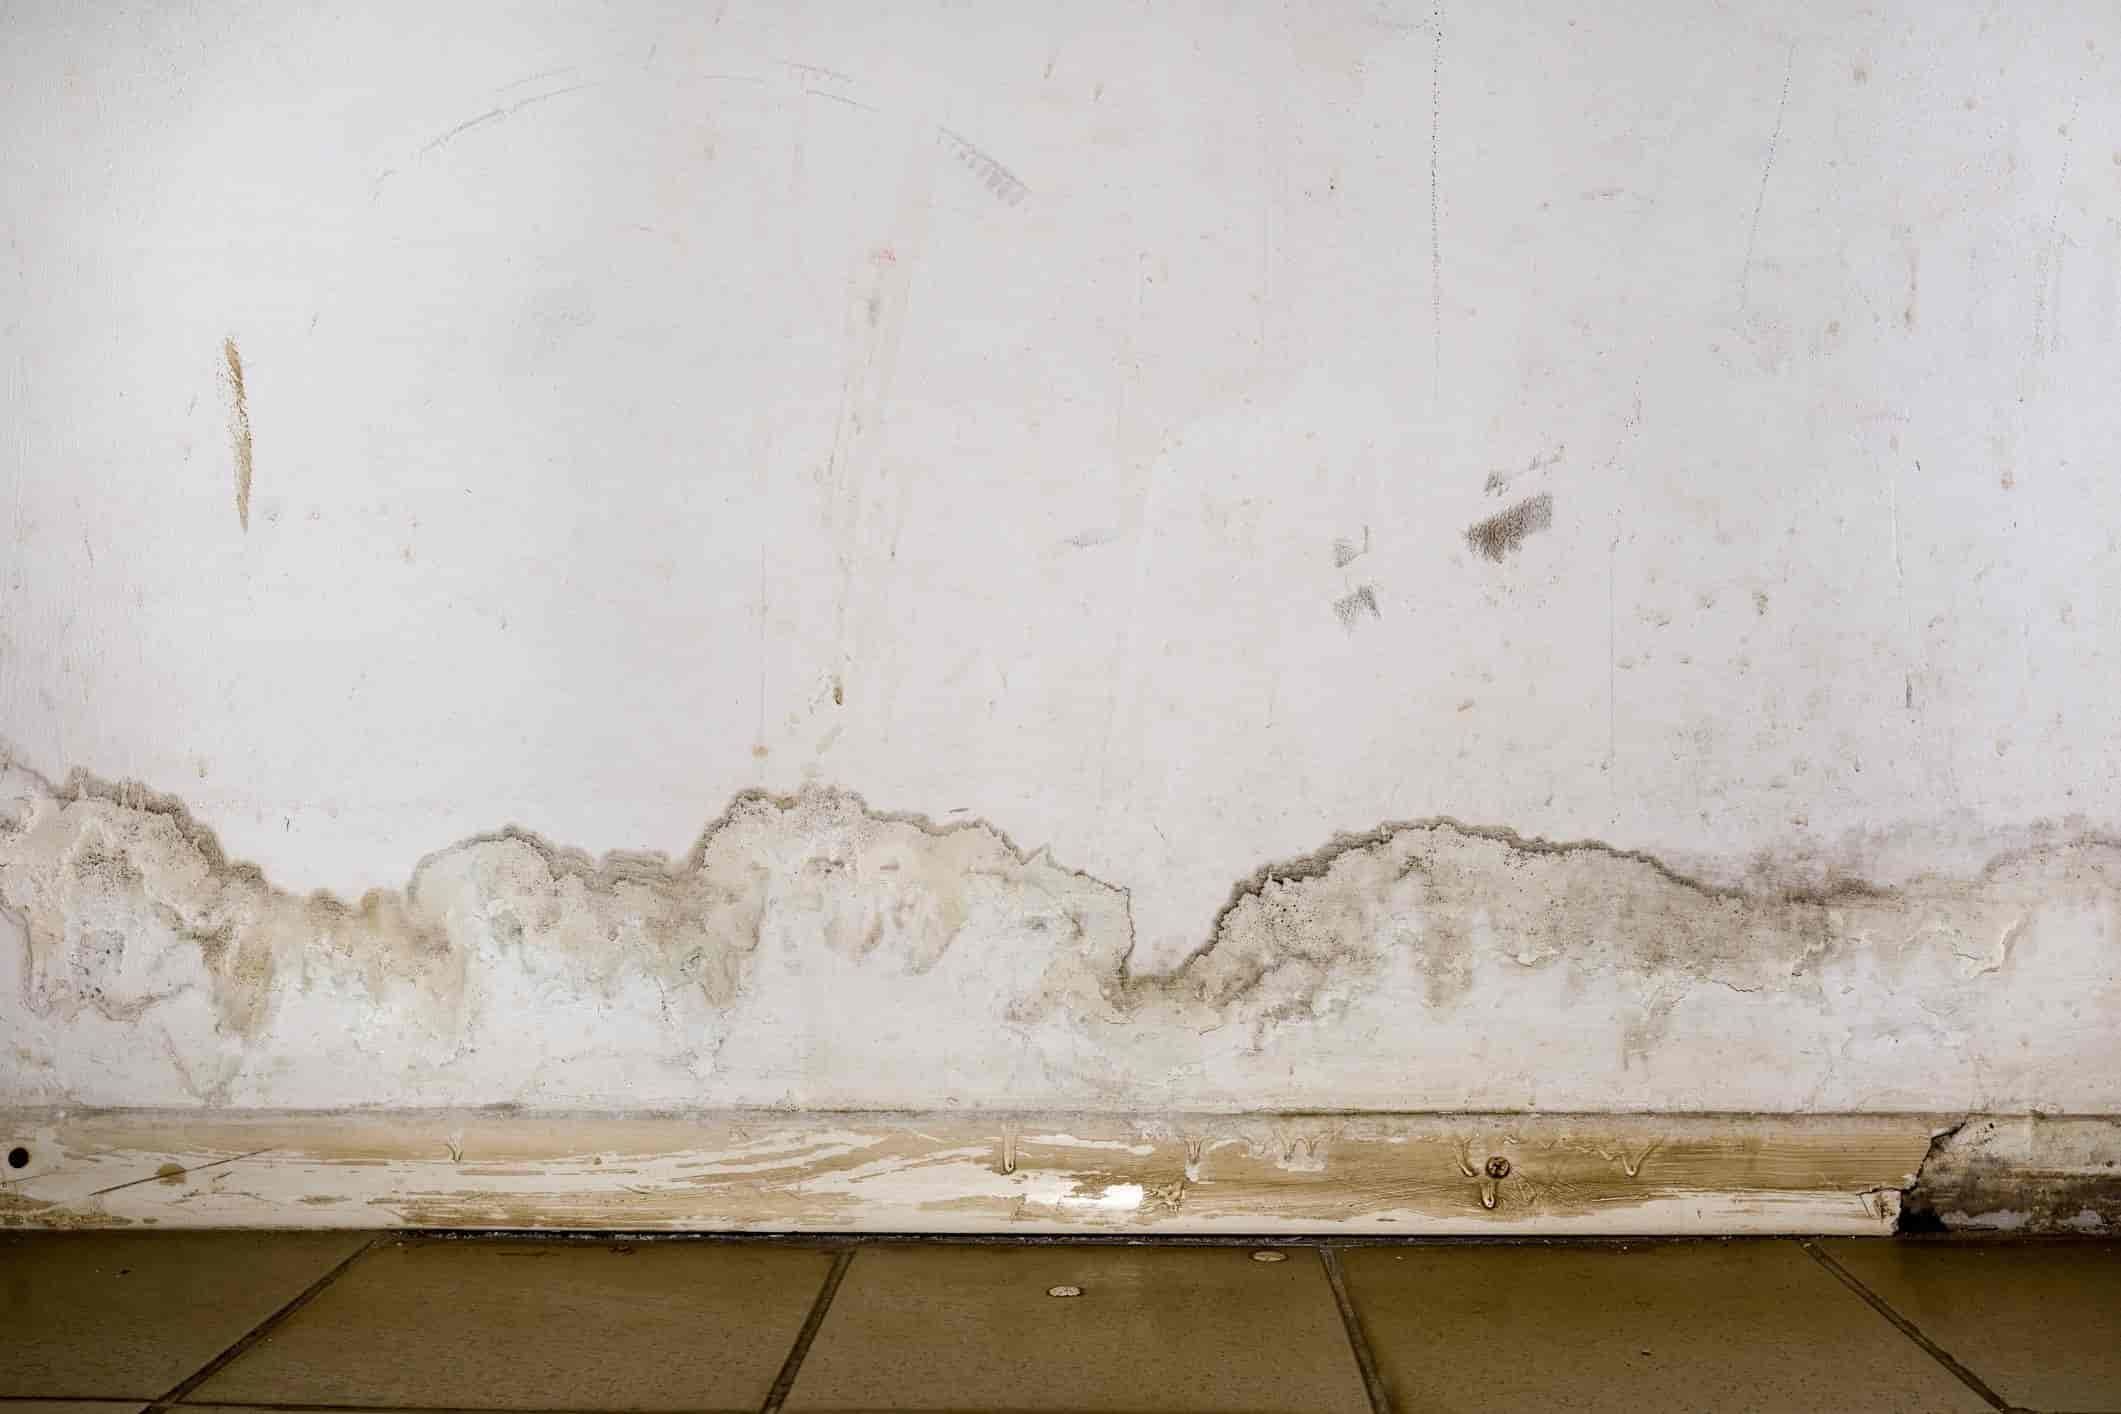
First, you should observe where the damp patch is, as this can be a big hint. Damp that seems to be coming up from the ground and has impacted your floorboards or skirting, like in the image below, could be a sign of rising damp. Alternatively, damp that’s high up in a corner of a room could signify a problem with the roof or guttering. Perhaps the damp is located on a ceiling, underneath where a shower might potentially be leaking. It’s best to identify where the damp patch is and how far it goes, as well as what might be above or around it.
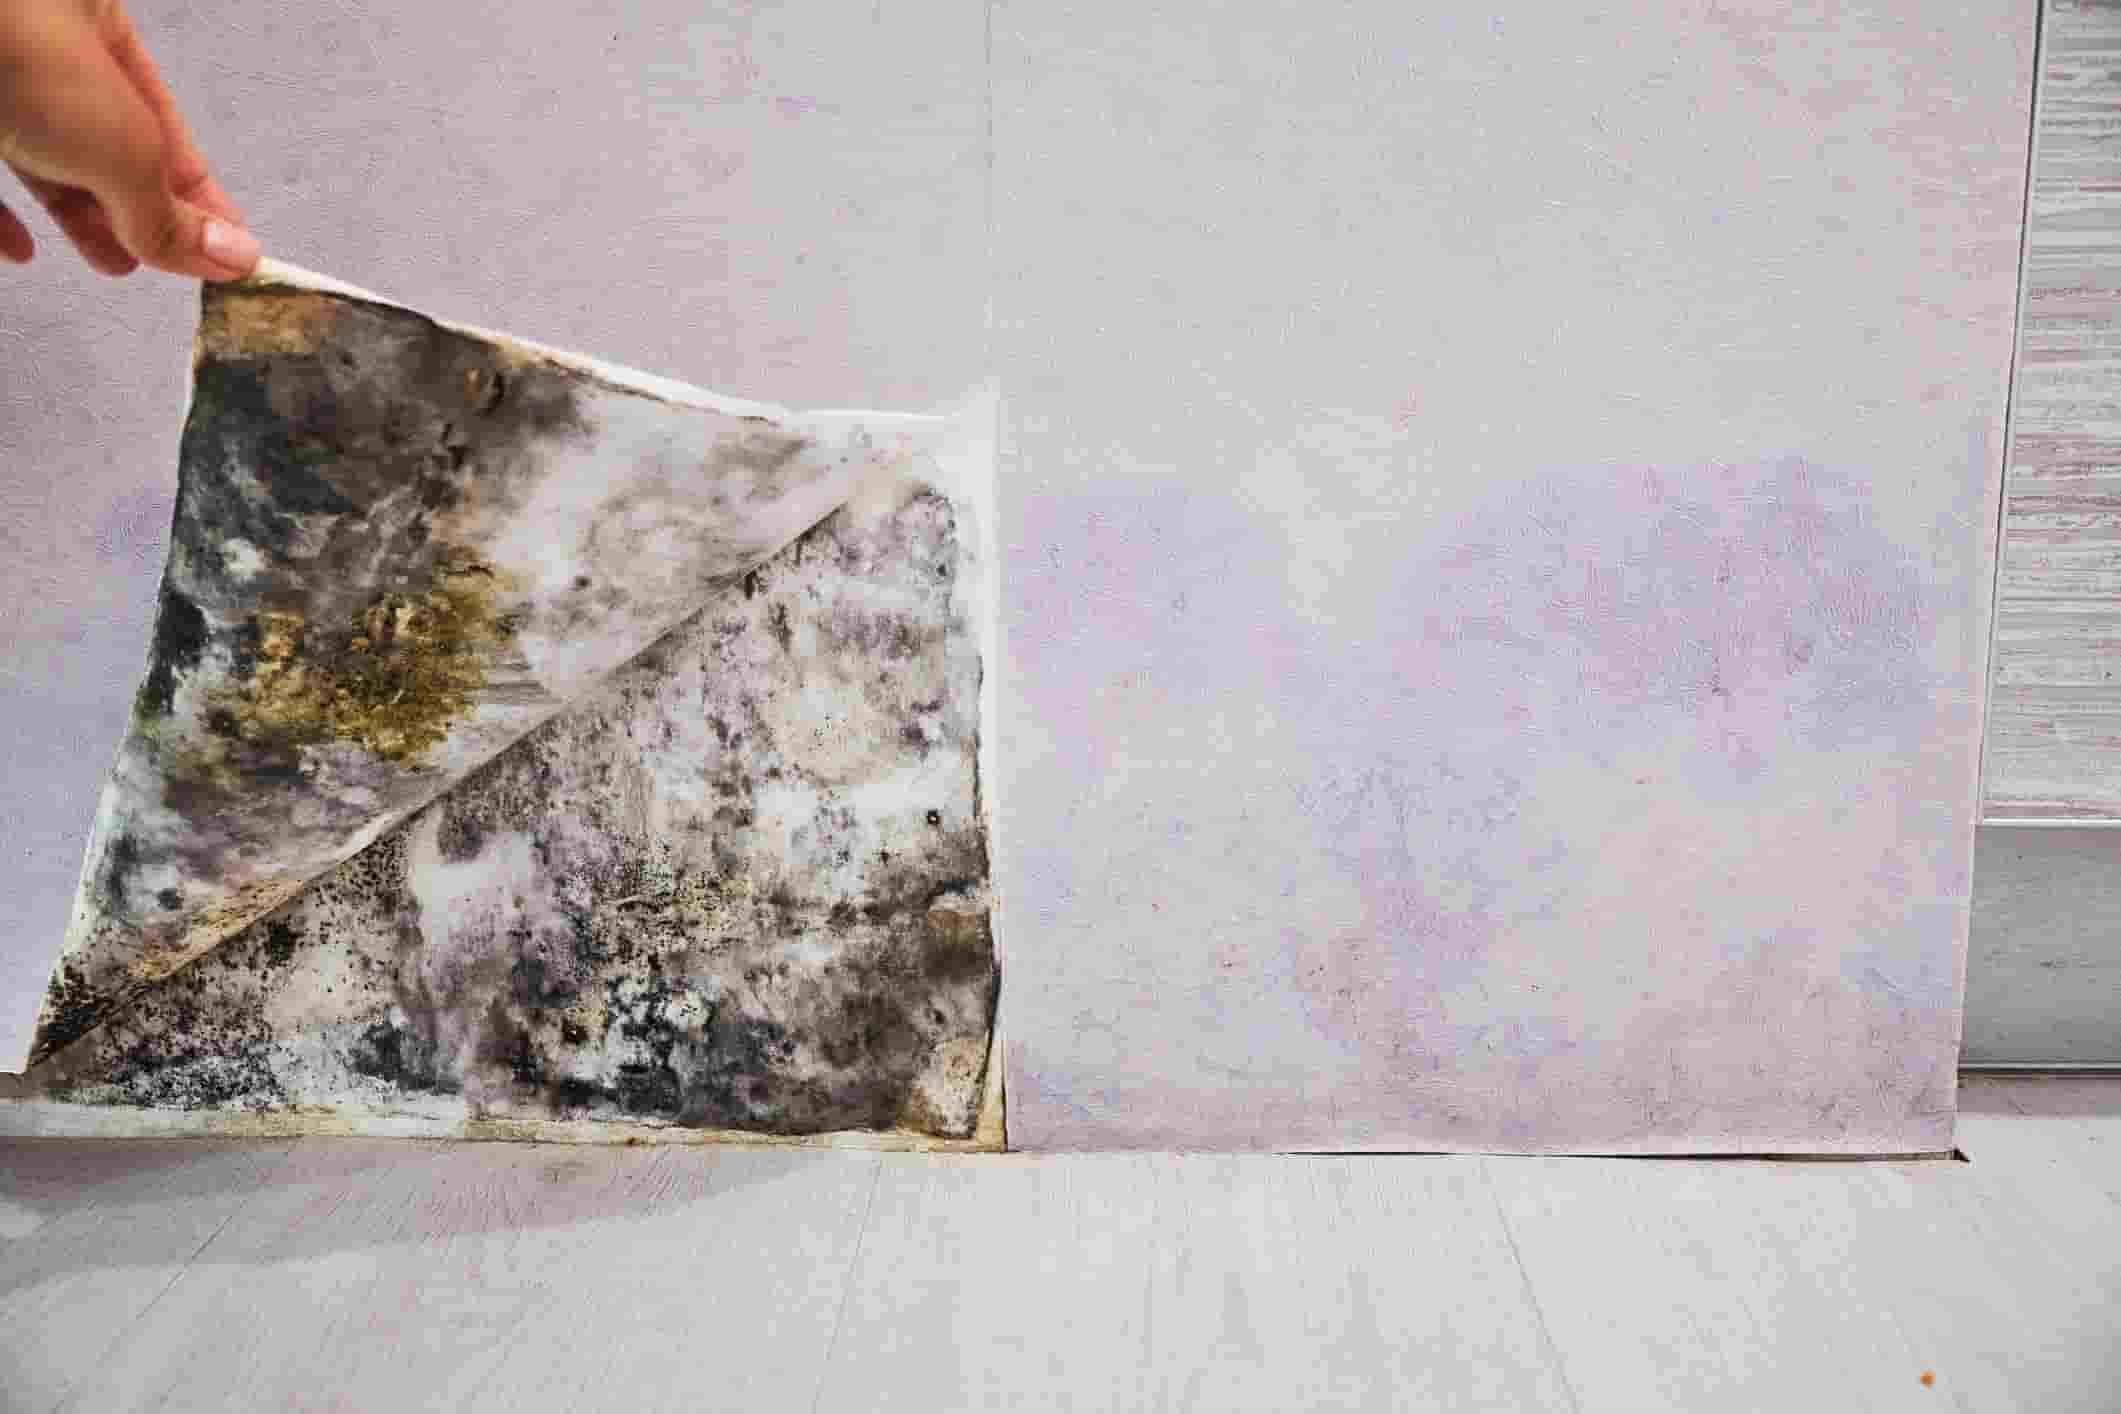
Damp or mould may not be in any one particular place, but spread around a whole room. This is more commonly a sign of poor ventilation and high humidity. There are lots of things we do at home that can cause excess moisture, such as cooking, taking a bath or shower, drying clothes on a radiator and even breathing. All of this humid air becomes trapped and over time can cause mould. Mould in bathrooms is most frequently caused by not opening a window or using an extractor fan. Therefore, your damp problem could be solved by using an extractor fan in the bathroom and kitchen, opening windows more regularly (yes, even in winter) and drying your washing outdoors where possible.
Can a dehumidifier help with damp?
A dehumidifier can absolutely help with dampness. While it won’t be enough to prevent the damp caused by a leaking shower, for example, it could help to reduce the excess humidity caused by some of the things we’ve mentioned above.
How to fix a damp patch on a wall
Once you’ve addressed how the moisture is getting in, you’ll want to remove any traces that it was there in the first place, such as water marks and peeling paint. Before attempting to fix it, first make sure that the wall is completely dry. It may be a good idea to use a damp and moisture detector.
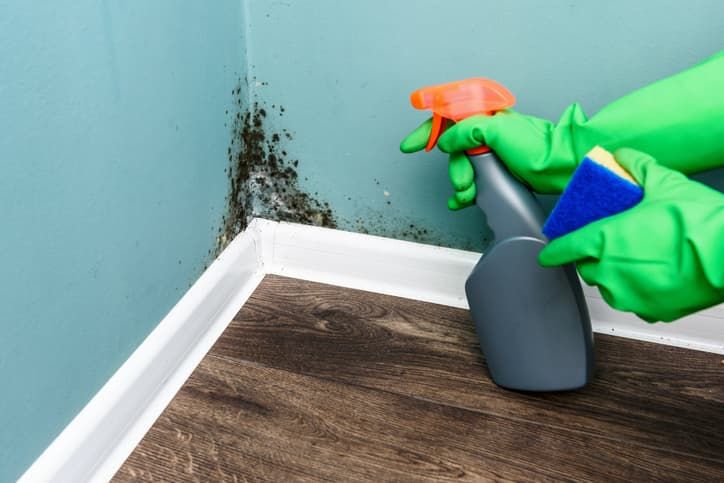
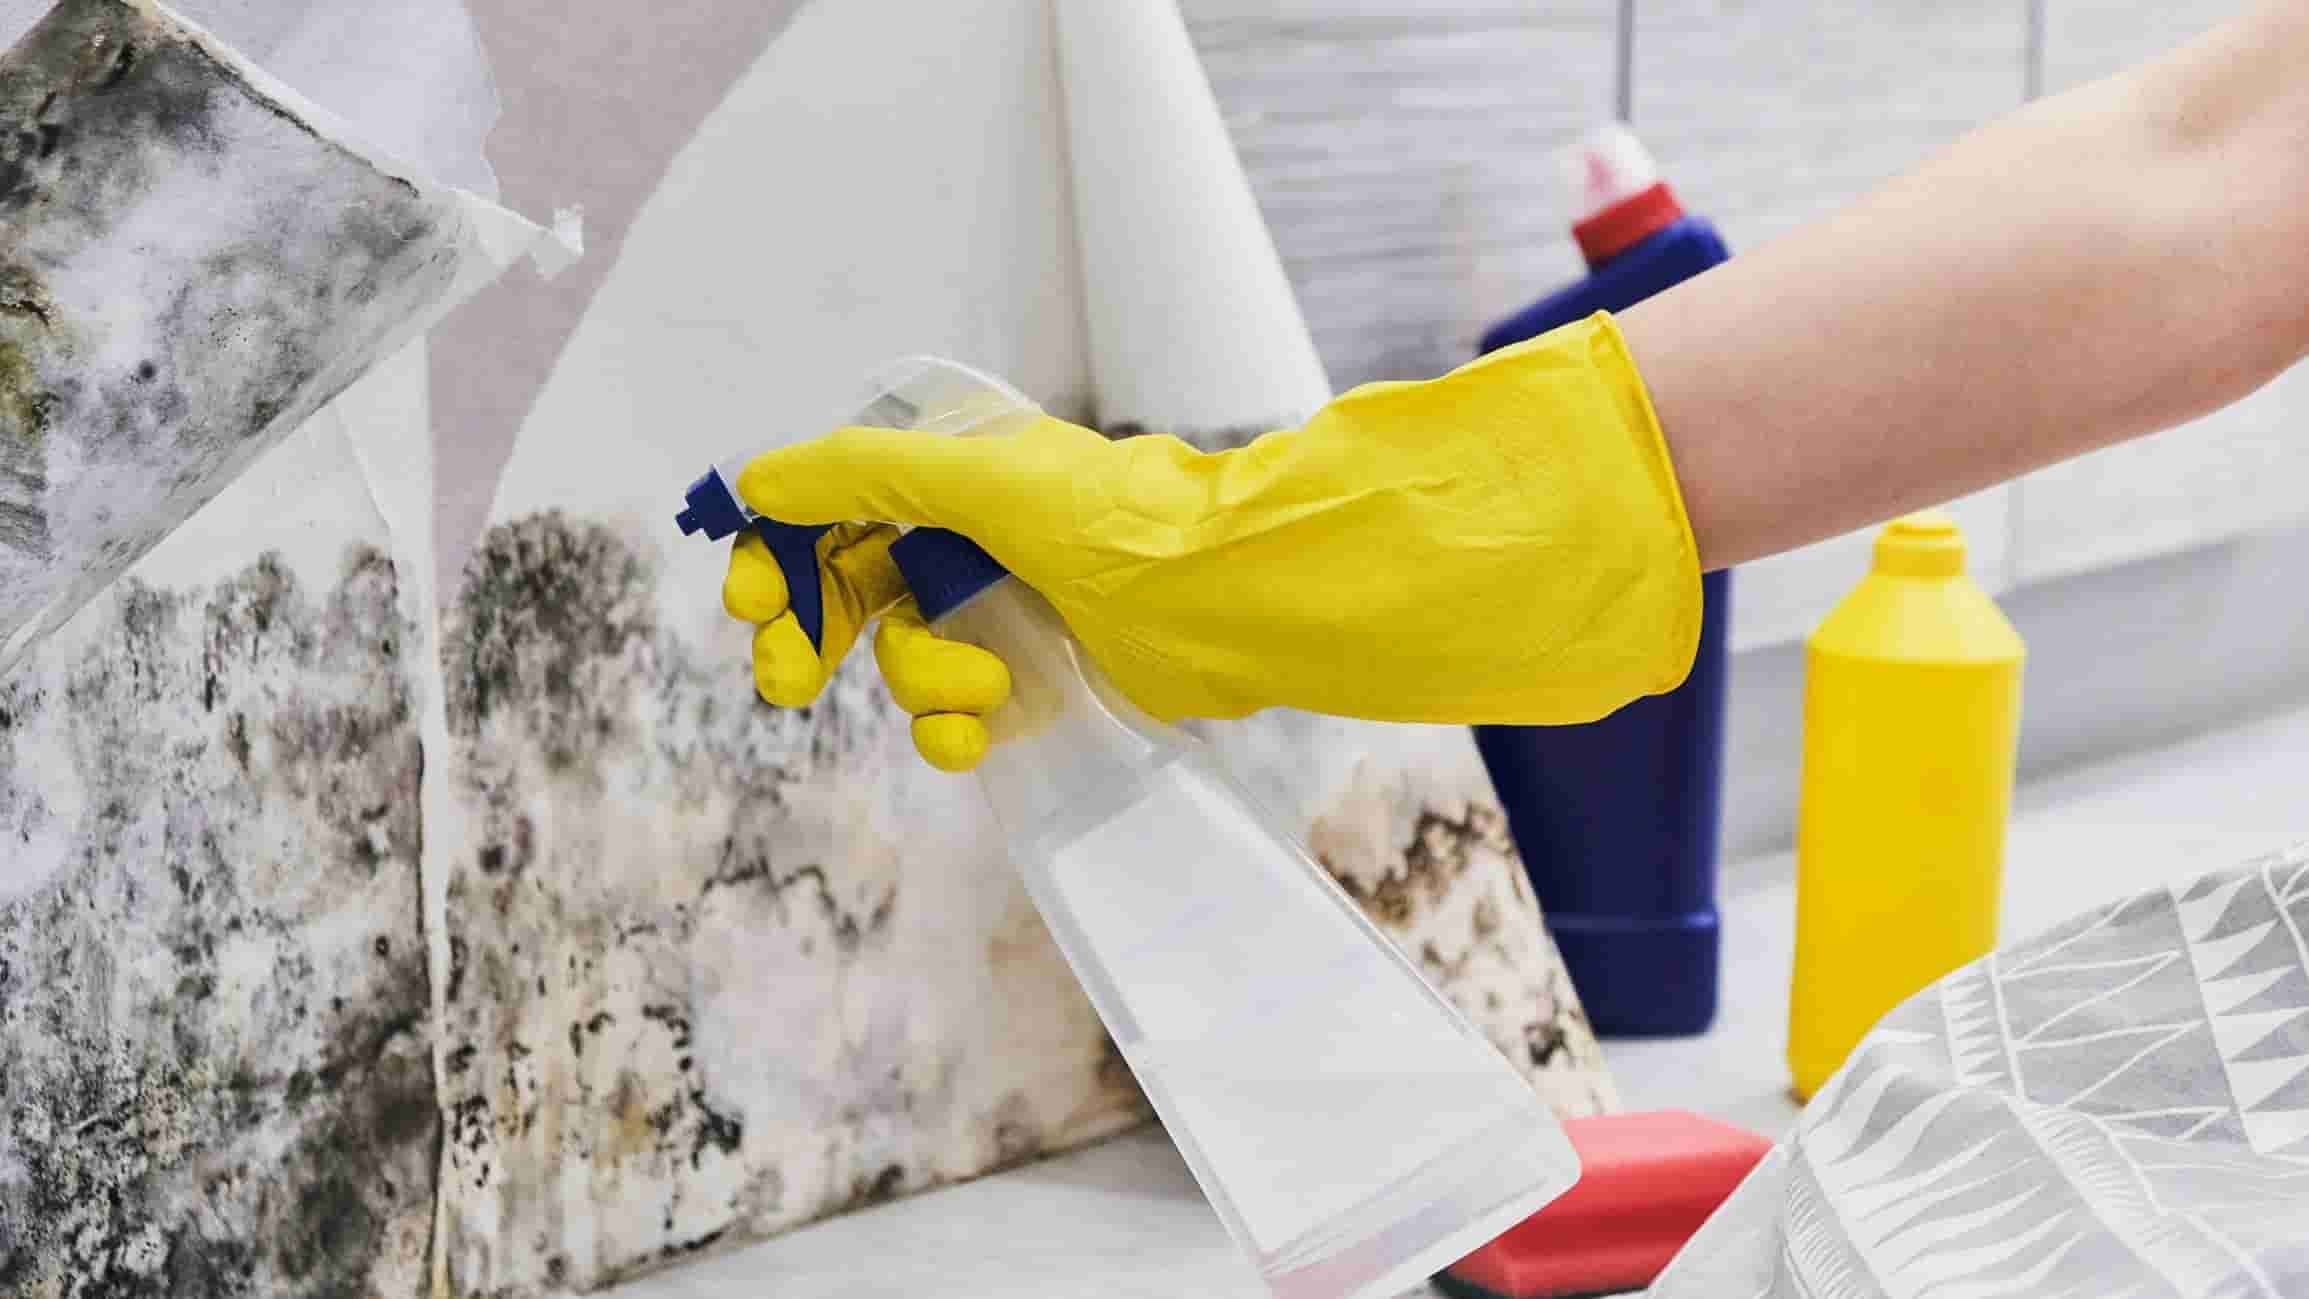
Then, you should aim to remove as much wet plaster, wallpaper or paint from the wall as you can. If you find black mould at any point, you should wear gloves and a mask to protect you from its spores.
Black mould should be removed as much as possible using a solution of bleach and water, mixed in equal parts. Spray it onto the surface and leave for up to 15 minutes before removing with a brush or scourer.
If the damp has badly affected the plaster, causing it to crumble and break away, you may need to fill the walls in places to make sure it’s smooth again before painting. This can be done using any filler from a hardware store . The substance can be pressed into the wall and smoothed over. Once dry, you can paint directly over it.
If you’re repainting a bathroom or kitchen, the higher humidity areas in the home, you might consider using an anti-mould or mould resistant paint to reduce black mould from forming.
Will PVA seal a damp wall?
PVA, or glue, is often used by plasterers in a diluted version as it helps the plaster to stick to the walls better. It can also be used to seal the plaster before you add the paint. Plaster is a very absorbent material and will often absorb a lot of the first layer of paint. To prevent this, watered down PVA can be used to first seal the plaster before you begin painting. However, it cannot be used to seal a damp wall. As PVA is a water-based solution, it needs to be absorbed and so using it on an already-damp surface will not work.